
Introduction
The older installations of pfSense in an APU2c4 from PCEngines required a few more steps than the installation does as of release 2.4. pfSense 2.4 and later no longer supports the nanobsd based installation. This howto partly shows how to install pfSense, with the main focus on creating the boot USB stick on a Mac, OSX, MacOS or whatever they call it today.
You need the following:
- http://www.pcengines.ch/newshop.php?c=48881
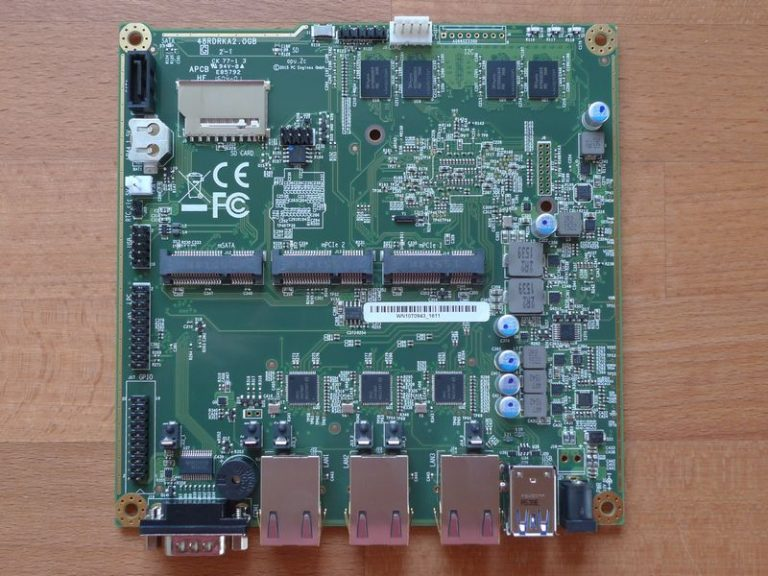
- APU2C4 - http://www.pcengines.ch/apu2c4.htm
- Enclosure - http://www.pcengines.ch/case1d2bluu.htm
- Powersupply - http://www.pcengines.ch/ac12veur3.htm
- 16GB mSATA module - http://www.pcengines.ch/msata16g.htm
- Total cost: ca 160 CHF (about the same in USD)
To install pfSense on your APU2c4, you do the following:
- Download the latest MEMSTICK serial installation image, as per today https://nyifiles.pfsense.org/mirror/downloads/pfSense-CE-memstick-serial-2.4.2-RELEASE-amd64.img.gz
- Write this image to a USB stick
- Connect to your APU2c4 per serial port, 115200, 8N1
- Boot from the USB stick
- Install the software
Creating the boot media
First, you will have to figure out which /dev/disk device your USB stick is. Failure to choose the correct one will probably break stuff, for example you might overwrite your backup disk or whatever other disks you have connected to your computer. Please don’t blame me for it. You are hereby warned. Choose the correct /dev/disk device. This is how you find it.
diskutil list
…
/dev/disk5 (external, physical): #: TYPE NAME SIZE IDENTIFIER 0: FDisk_partition_scheme *3.9 GB disk2 1: DOS_FAT_32 USB_STICK 3.9 GB disk2s1
That 3.9GB disk that has the name USB_STICK just have to be my USB stick, so I use the disk /dev/rdisk5 in my example. Very often this just happens to be /dev/rdisk2 or /dev/rdisk3, but I probably break less computers by using rdisk5 as example below.
disk=5
diskutil unmountdisk /dev/disk${disk}

mkdir -p /temp/pfsense
cd /temp/pfsense
wget https://nyifiles.pfsense.org/mirror/downloads/pfSense-CE-memstick-serial-2.4.2-RELEASE-amd64.img.gz
gzcat pfSense-CE-memstick-serial-2.4.2-RELEASE-amd64.img.gz | dd of=/dev/rdisk${disk} bs=1m
Did you notice the following?
- You usually reference disks in OSX (or MacOS) by /dev/diskX.
- In my example, I write to /dev/rdiskX
Why is that? Well, the difference is well described here, for now you should just remember that writing images to a disk is much faster to an R-disk than a disk device. Much faster.
Connecting per Serial port
In any case, it is now time to connect your shiny USB to Serial adapter to the serial port of the APU2c4. I use an Aten UC232A Serial converter. It is cheap and it works. It does require you to install a driver (see below), so it does not work out of the box in OSX (MacOS) High Sierra. The trick is, that if the device file /dev/tty.UC-232AC does not appear when you connect the dongle to your computer, you will need to install the driver. Simple as that. And yes, just like in Windows you will have to reboot your computer to finish the driver installation. Man, do they ever learn?
Now you start your favorite terminal program and connect to the /dev/tty-device at 115200, 8N1. My favorite is the program “screen”, which works well for me.
screen /dev/tty.UC-232AC 115200 8N1
#or
<span class="s1">miniterm.py /dev/cu.UC-232AC 115200</span>
Note: Drivers for the Aten UC232A Serial converter are found here: https://www.aten.com/global/en/supportcenter/downloads/?action=display_product&pid=575
Installation
- When you connect the power to the APU2C4, you should more or less immediately (within a couple of seconds) see the following on your terminal:
PCEngines apu2
 coreboot build 20160307
 ...
 PCengines Press F10 key now for boot menu:

Press <F10> to get the boot menu:

Select boot device:

1. USB MSC Drive JetFlash Transcend 16GB 1.00
2. ata0-0: SATA SSD ATA-10 Hard-Disk (15272 MiBytes)
3. Payload [memtest]
4. Payload [setup]
- Chose <1> for your USB key, which will boot up your APU2c4 from the USB stick.
- Follow the instructions (default on all questions will be ok)
- Wait for the installation to finish
- Reboot the APU2c4
- Done
References
- http://www.pcengines.ch/newshop.php?c=48881
- https://nyifiles.pfsense.org/mirror/downloads/
- https://www.digitec.ch/en/s1/product/aten-uc232a-usb-serial-konverter-kabel-converters-437434
- Driver for the UC232-A USB to serial converter (i.e for Sierra/High Sierra): http://www.aten.com/global/en/products/release-note//?action=release_note&type=driver&eid=412